To successfully install a carburetor rebuild kit, gathering the right tools is crucial to ensure a smooth process. You'll need various screwdrivers (both flat and Phillips), wrenches, pliers, and a vacuum gauge—all essential for precise and efficient work. Using appropriately sized tools reduces the risk of stripping screws or inadvertently damaging motorcycle components. If your model has multiple carburetors, a carburetor synchronizer might also be necessary. This specialized tool helps in balancing carburetors to ensure optimal engine performance. Furthermore, a well-equipped workbench, cleaning supplies such as carburetor cleaner, and adequate lighting like a flashlight can enhance your productivity and safety during the installation process.
Ensuring the carburetor repair kit is compatible with your specific motorcycle model is critical. It's imperative to consult the owner's manual or the manufacturer's specifications to cross-check part numbers. Using incompatible parts can lead to poor performance or even potential damage to your motorcycle. This crucial step cannot be overstated. Online resources, including forums or manufacturer websites, can offer valuable insights and user experiences that might guide you in selecting the appropriate carburetor kit. These communities can be instrumental in avoiding incompatibility pitfalls, ensuring a successful carburetor rebuild.
Safety during carburetor maintenance is paramount. When working with a motorcycle carburetor, wearing gloves is crucial to prevent cuts and reduce chemical exposure from cleaning agents. Safety goggles are equally important as they safeguard your eyes from flying debris and unexpected solvent sprays. They also protect against fuel spills that might occur during the maintenance process. Additionally, wearing a mask can help avoid inhaling hazardous fumes, especially when using aerosol cleaners for component cleaning. Prioritizing proper safety gear not only prevents injuries but also ensures a more efficient and trouble-free carburetor refurbishment.
To safely remove the carburetor, start by shutting off the fuel supply and disconnecting the motorcycle's battery. This precaution prevents any accidental fuel leaks or electrical mishaps. Next, it's helpful to take note of the position of components like linkage and hoses with either photos or sketches, as it makes the reinstallation process much easier and error-free. When it comes to detaching the carburetor from the intake manifold, carefully loosen the clamps and lift it free, ensuring not to damage any gaskets in the process. Keeping these steps in mind will maintain the integrity of your motorcycle maintenance and set a strong foundation for the rebuild.
Once you've safely removed the carburetor, the next step is disassembling it. Pay careful attention to the order of disassembly, as you'll need to reverse this later. Cleaning each component is crucial; use a specialized carburetor cleaner to eliminate deposits and residue, focusing especially on jets and passages, which are prone to becoming clogged. Utilizing compressed air can be highly effective in dislodging stubborn particles from hard-to-reach areas. This meticulous cleaning process is fundamental to ensuring that your carburetor functions perfectly after reassembly, making it an indispensable part of the carburetor disassembly protocol.
After cleaning, install the new gaskets to ensure a proper seal and prevent air leaks, as misaligned gaskets can cause performance issues later. Next, replace jets and needles according to the specifications provided with the rebuild kit. Installing the right sizes is pivotal for maintaining optimal fuel delivery. It's crucial to follow the instruction manual for the correct orientation and positioning of each component. Paying attention to these details during the installation of carburetor kit parts ensures the long-lasting functionality of your motorcycle's engine.
With all components cleaned and kit parts installed, proceed to reassemble the carburetor in the reverse order of disassembly. Ensure all screws are tightened as per the manufacturer's specifications to avoid any loosening during operation. It's also important to double-check the orientation of the floats and other critical components for proper functionality. Once assembled, conduct a thorough visual inspection to ensure no parts are leftover or misaligned. Proper reassembly guarantees performance efficiency and extends the life of your motorcycle carburetor.
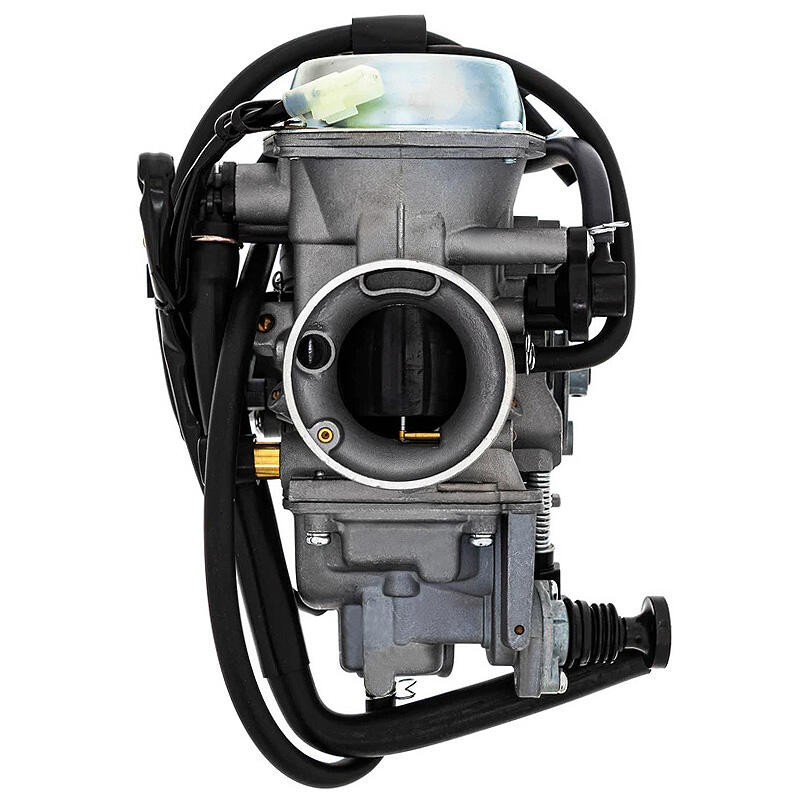
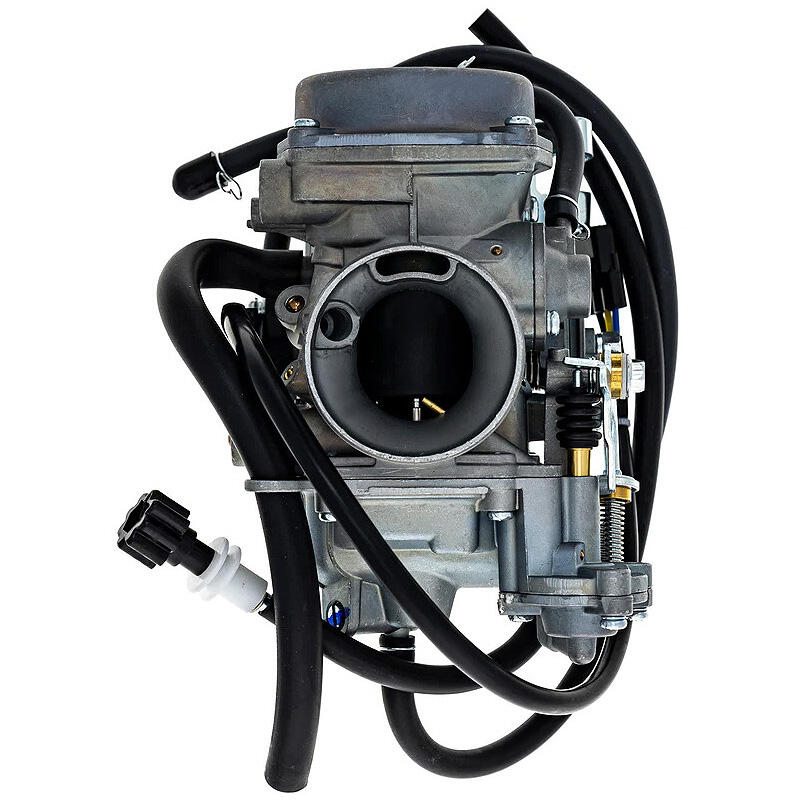
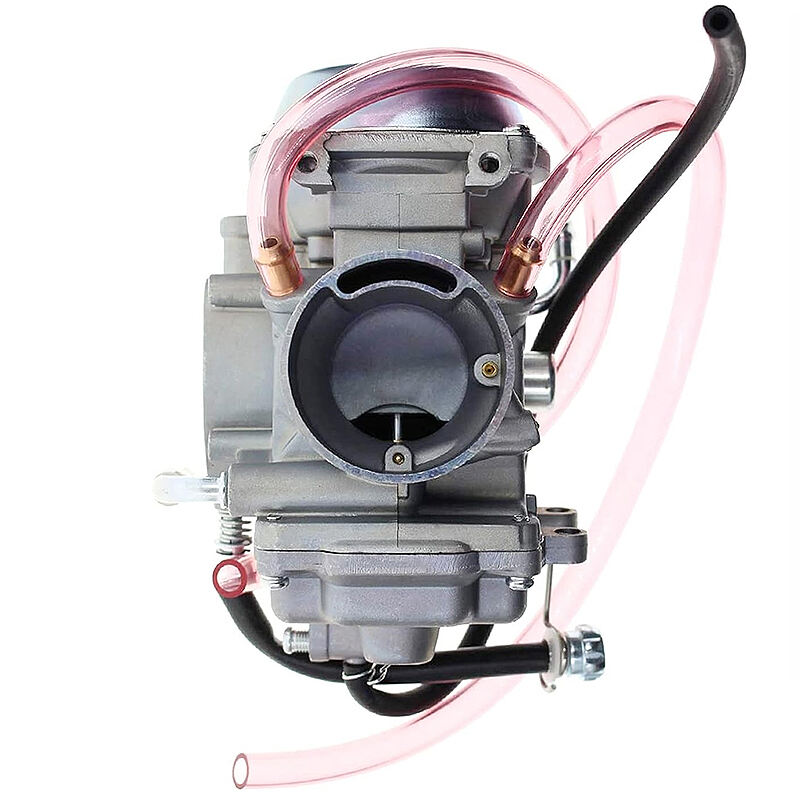
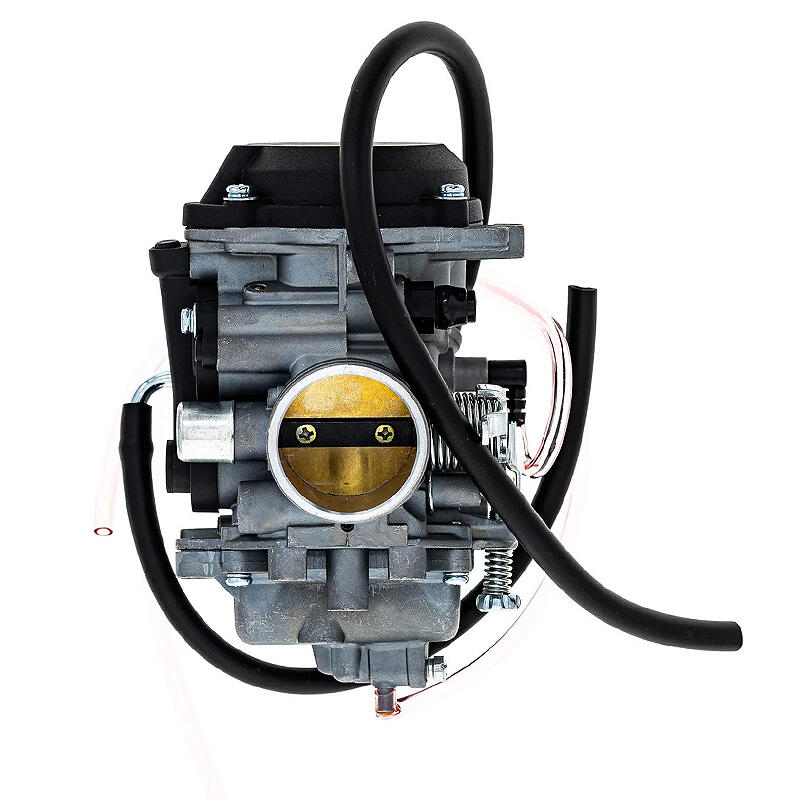
The carburetor rebuild kit tailored for Honda TRX500 models spanning 2001 to 2012, provides optimal fuel efficiency and compatibility. It's crafted from high-quality materials designed to withstand extreme temperatures and modern fuel additives, ensuring durability and reliable performance. Positive customer reviews highlight its seamless fitment and enhanced fuel delivery, making it a preferred choice for many Honda TRX500 owners. Such endorsements reinforce the product's reliability and trustworthiness, offering a robust solution for riders seeking efficient and straightforward maintenance.
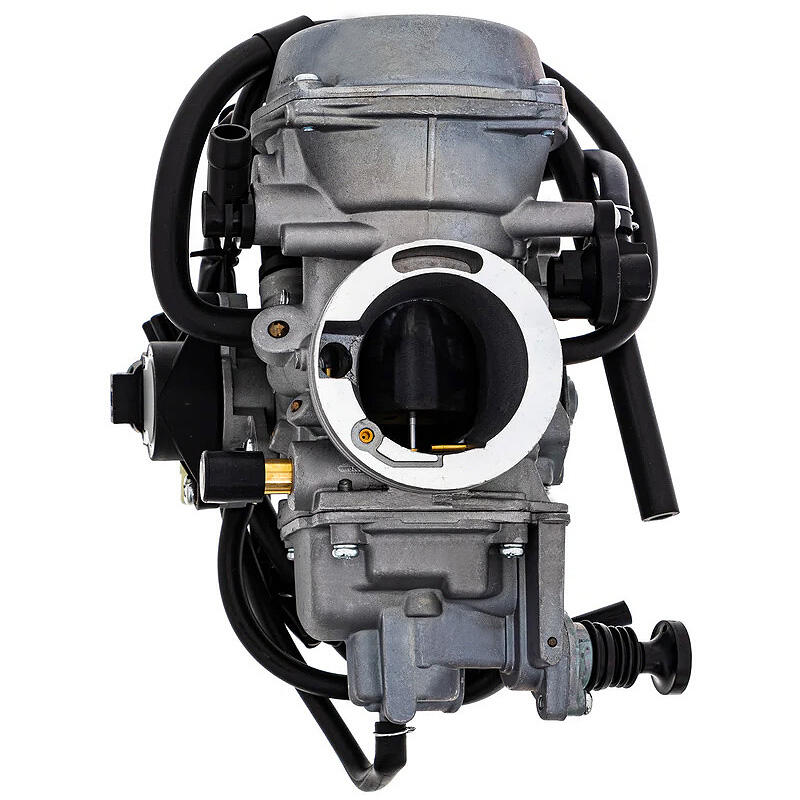
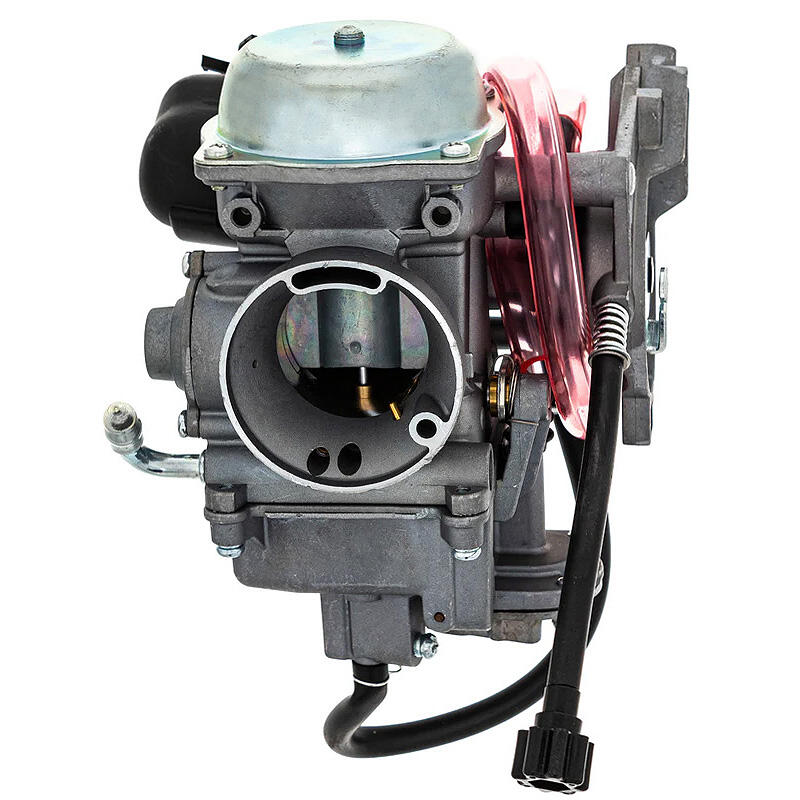
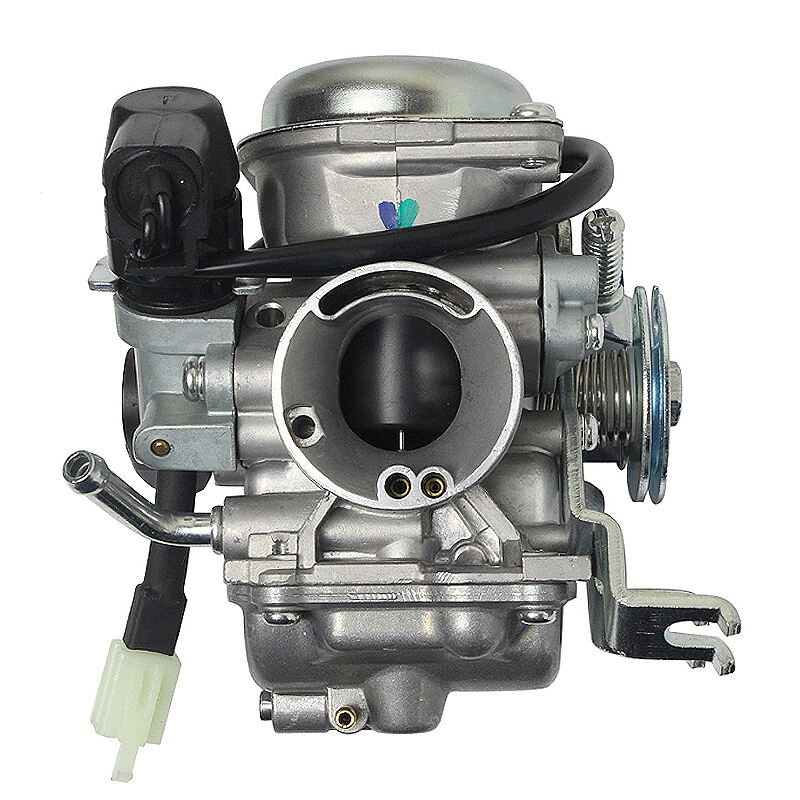
This rebuild kit is particularly designed for Honda Rincon 650 models, standing out due to its heavy-duty construction that offers remarkable durability under challenging conditions, making it perfect for off-road use. Notable components like upgraded jets and high-flow filters boost performance significantly, providing enhanced power and efficiency. Customer satisfaction metrics along with repeat purchase statistics highlight its value among Honda Rincon 650 enthusiasts who regularly depend on its robust and reliable design for consistent performance.
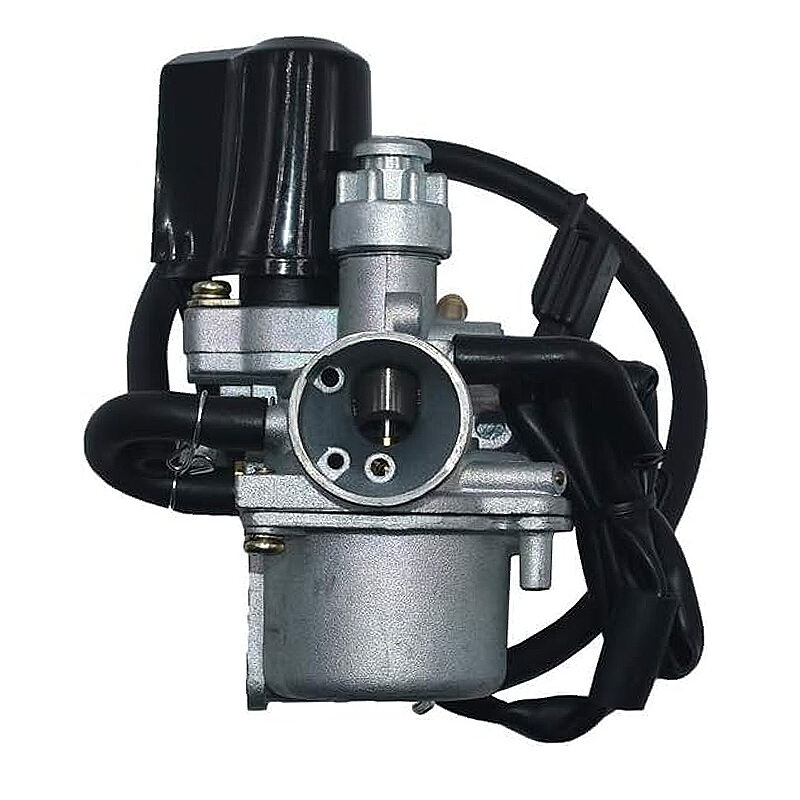
Ideal for Honda NQ50 Spree 50 scooters, this compact carburetor kit emphasizes its easy installation and effective fuel delivery system. By enhancing throttle response and overall scooter performance, it stands out as a significant upgrade. Product tests have shown increased fuel efficiency post-installation, substantiating these claims and making it an excellent choice for scooter riders looking for a boost in performance with minimal installation complexity.
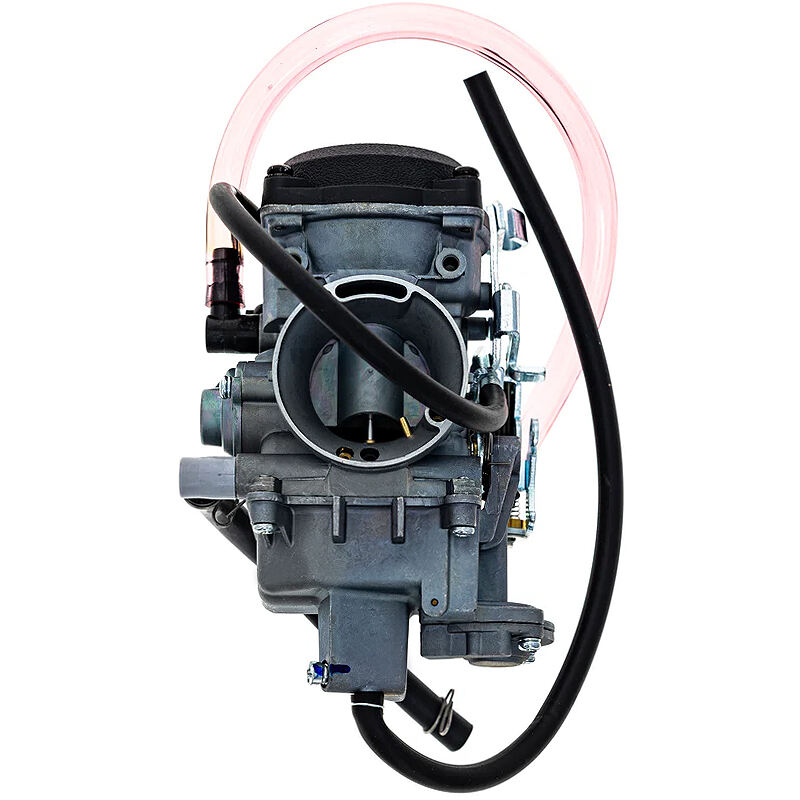
Precision fuel delivery is paramount for maintaining peak engine performance in the Honda Shadow VLX 600, and this carburetor kit meets that requirement excellently. Engineered to match OEM standards, it offers reliability and consistent performance. Expert feedback and discussions on various forums affirm the positive impacts on engine performance post-installation, making it a favored option for ensuring optimal functionality in this model.
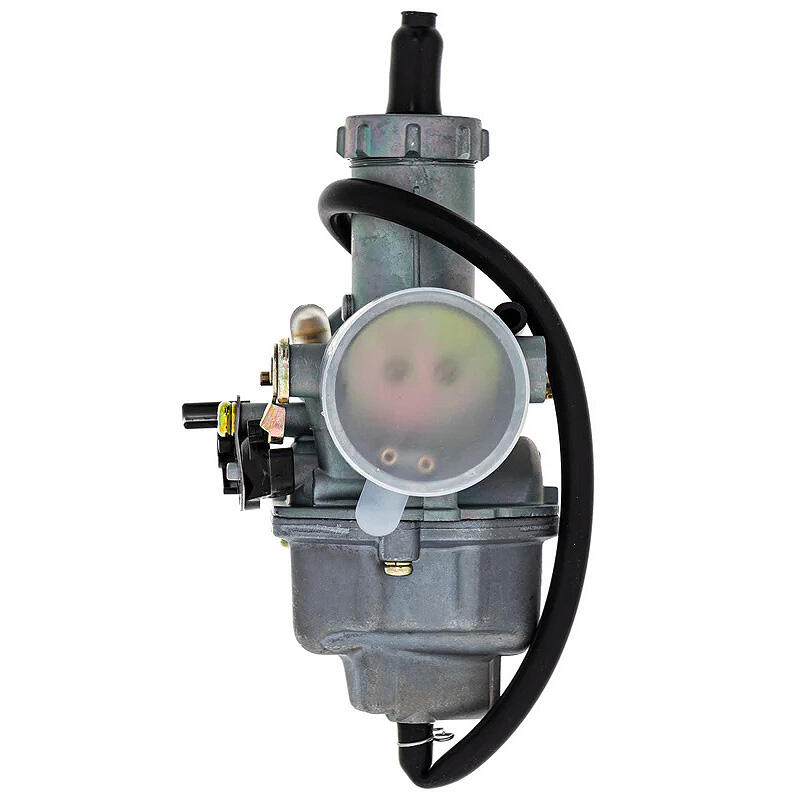
The XR200R carburetor kit is engineered for off-road use, ensuring excellent performance even in challenging terrains. Its resilient design adapts to varied riding conditions, making it indispensable for off-road adventures. Riders have shared experiences of noticeable improvements, citing enhanced power and adaptability through diverse environments, underscoring its value and effectiveness for off-road enthusiasts.
When starting the engine after a carburetor rebuild, it is crucial to first ensure all connections and fittings are secure to prevent any fuel leaks. The initial start-up may require adjusting choke and throttle settings to enable smooth operation, as these elements influence the air-fuel mixture significantly. Once the engine is running, check thoroughly for any leaks, strange noises, or vibrations, which might indicate improper installation or adjustment. Addressing these issues promptly ensures the motorcycle engine starts and operates efficiently, ultimately prolonging its lifespan and reliability.
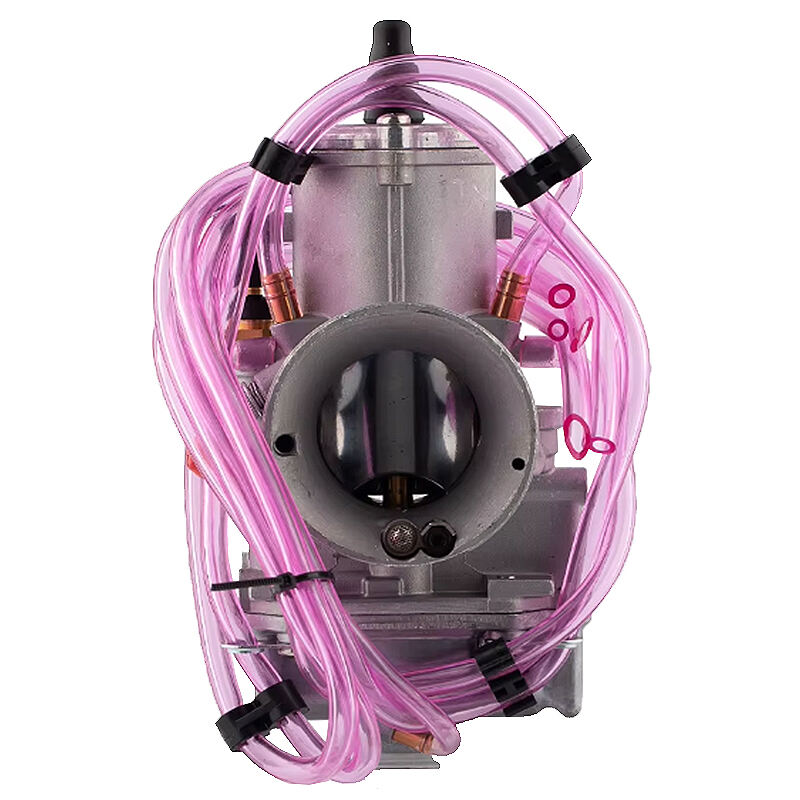
Achieving the correct air-fuel mixture is vital for optimal performance when using PWK carburetor kits. Adjustments are made via the air and fuel screws, allowing fine-tuning for various riding conditions. Observing the engine's response during these adjustments is essential; for instance, optimal settings can be identified by smooth acceleration and stable idle without stalling. Compare performance data from different settings to understand their impact on efficiency and power. Balancing the air-fuel ratio will maximize throttle response and overall engine health, reinforcing the importance of precise tuning.
Common carburetor installation issues, such as leaks from improper sealing, can significantly affect engine performance. To troubleshoot, inspect for damages or misalignments in seals and replace them if needed. Misfiring engines often result from incorrect jetting or blocked fuel passages, requiring cleaning and correct jetting to resolve. Sharing user scenarios and solutions can enhance this guide's practicality, providing alternate troubleshooting steps for various situations. This ensures riders can effectively address issues and enjoy a seamless riding experience with their rebuilt carburetor.
 Hot News
2024-07-02
2024-07-02
2024-07-02

Explore the world of Moto-Tec, a pioneer in carburetor manufacturing with over 5 years of expertise. Our extensive range of carburetors caters to motorcycles, automobiles, generators, and agricultural machinery, ensuring efficiency, reliability, and environmental friendliness. Trusted by customers across 23+ countries, we offer technological innovation, exceptional quality, product diversity, and outstanding service.
F2, Building A, No. 38 Huayi Road, Fuding City, Fujian Province, China
Copyright © copyright © 2024 by Fujian ULY Industry & Trade Co., Ltd. Privacy Policy